Hi there! Today, I'm going to do a simple tutorial on the Martha Stewart's various painting tools to create an art journal page. If you're not into art journal, that's completely ok. You can apply these methods to create your own scrapbook background designs too. Without further ado, let us begin.
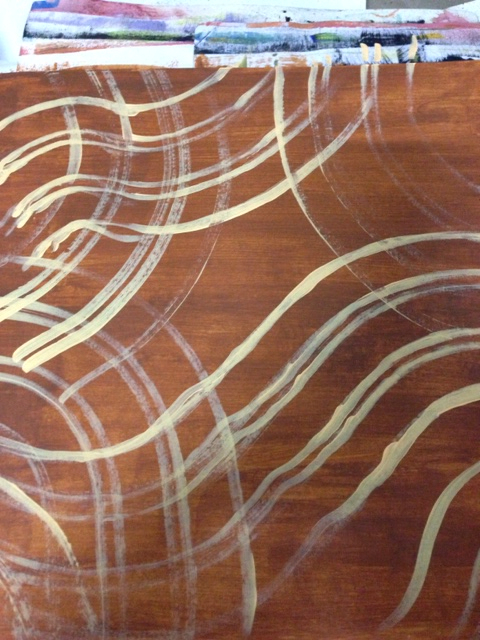
This (below) is my art journal page, which was initially a blank white water colour paper (300gms). I have given it a brown coat of MS paint. The paint was diluted with water before I applied on the page. MS paints are really quite thick. If you prefer without much dilution, thats fine cos its entirely up to you.
Then, using the adjustable stripping brush, I have created the yellow wavy lines. ( in a picture later too). What's great about this adjustable stripping brush is that..well...it's adjustable! You can design your own wavy lines by rearranging the brushes between each other. Cool eh? Ok, let us move on.
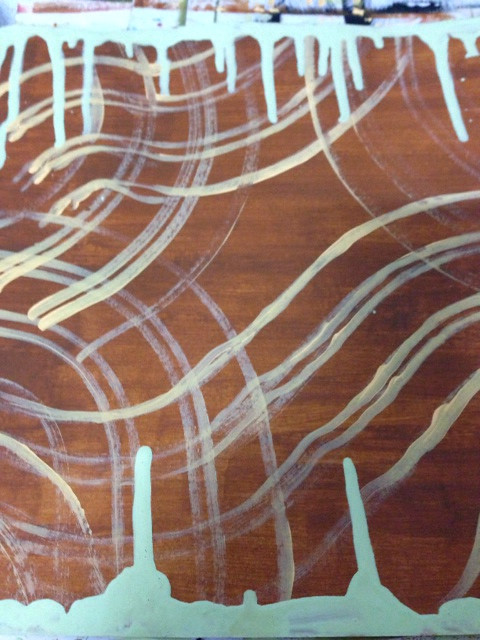
Now, I have used a green paint, dilute a little and bring it onto the edge of the top and bottom page. One edge at a time. Don't ask me why I have used green and brown..lol! I guess I have extra bottles of greens that I need to rid off quick! Hehe..
Ok, then let the paint drip down by tilting your page. Make sure you have enough water to let the paint drips. Like I said before , MS paints are quite thick. Too much water, will make the paint be too runny. My trick is, lift up the paint with brush and wait until it drips. If it drips the moment you lift up the brush, then it's too much of water. If it drips, say, about 5 secs later; then you're good to go. You can see below the result of this.
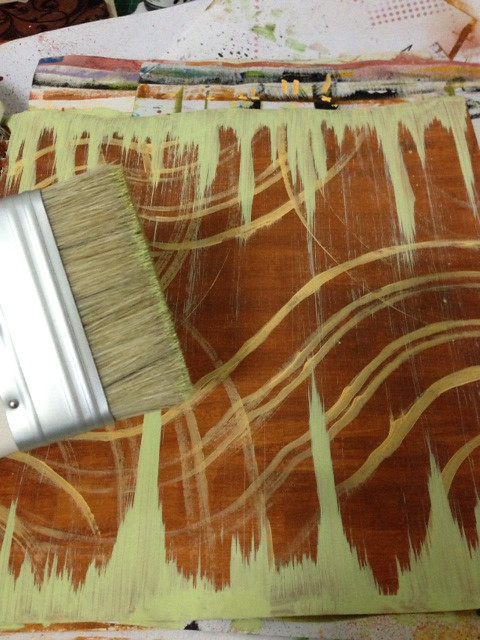
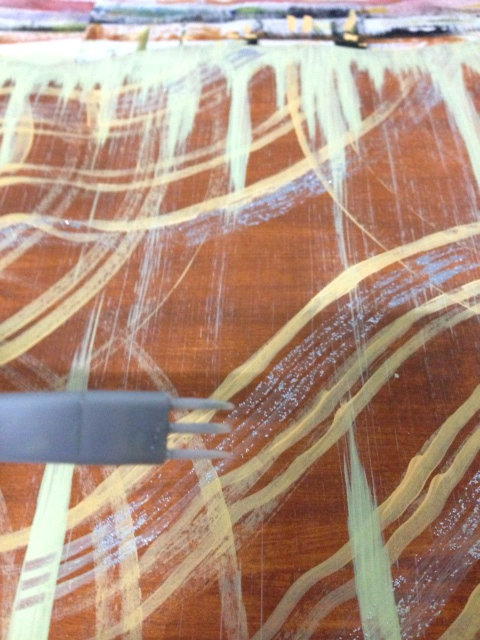
Now, before the green paint dries, we will use the dragging brush to swipe the paints over. You can see the streaks of green paints over the whole page as you drag it with this brush. So cool! Let it dry a little while. You can use heat gun to dry too.
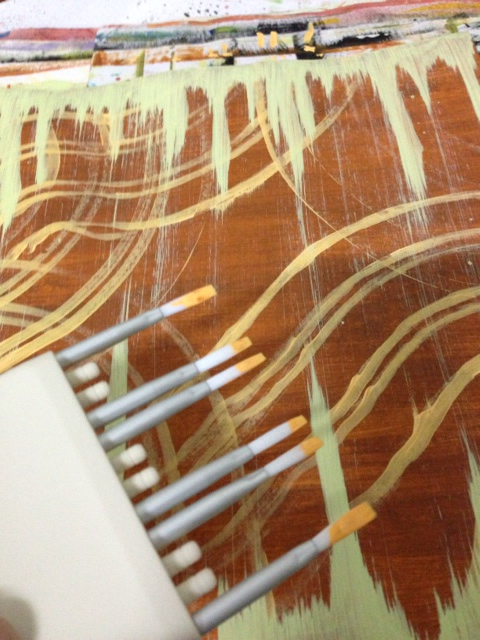
Ok, remember the first effect earlier? Below, is the adjustable stripping brush that I have used. It comes with 12 small brushes, which can be taken out to suit your designs. Tip: make sure your pallette is the flat kind or have a flat surface so that you can sweep off equal paints on all the brushes. You will know what I mean when you try it. Lol!
For the effects below, I have used the patterning brush set, which comes with 4 different designs. If you can see, I have used the glitter paint with this brush and applied it onto my art journal page.
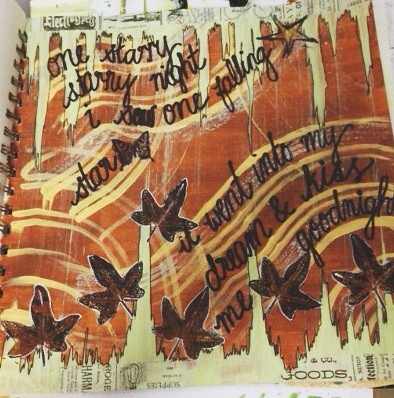
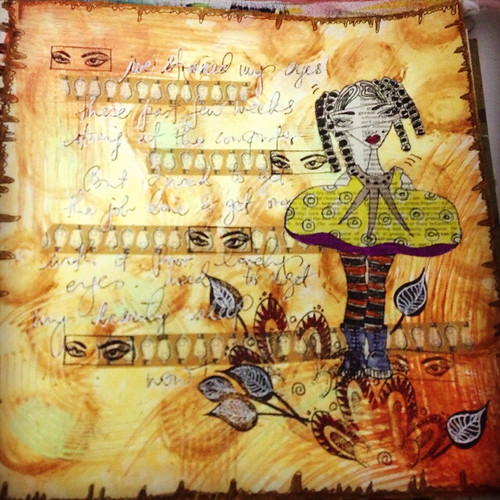
Well, and lastly, here's how the final art journal turned out to be. I've added stamping, doodling and journalling to finalize my art journal page. As usual, i always have a reason why I create an art journal page and this time, it is about the latest meteor that hits Russia. That streaks of green paints somehow reminds me of the light streaks that the meteor made as it glides onto the atmosphere. Perfect!
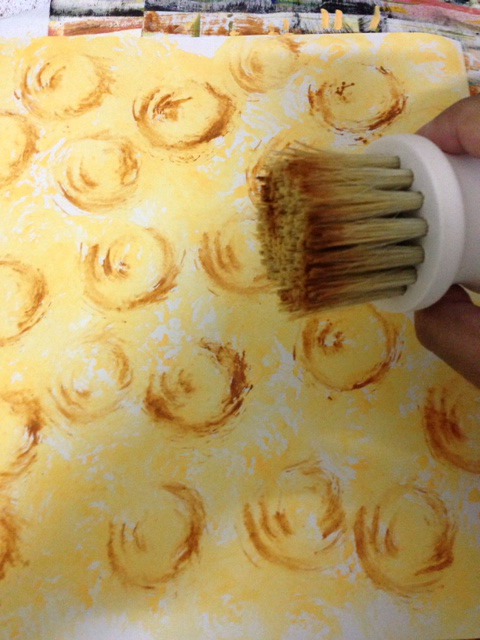
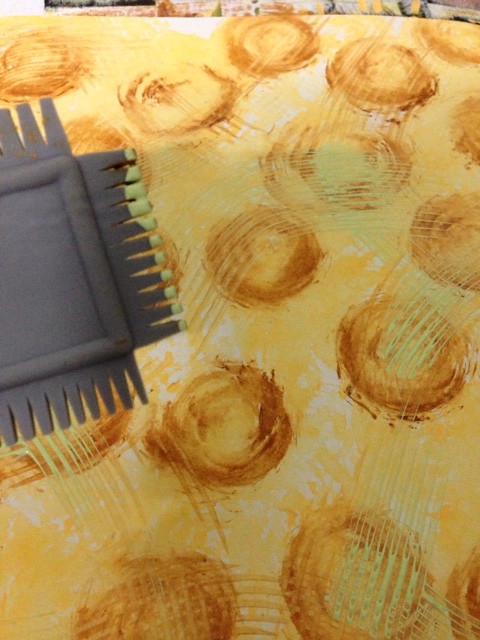
And just look at the effects given by the grain striping comb. Just swipe the paint with it and voila! You get awesomeness! Lol!
Bigger 'tooth' on this one below.
Ok folks. Yeap, I'm really signing off now. Hehe..
Don't be afraid to get messy ok! Have fun playing with your paints!
See you next time. Ciao!


No comments:
Post a Comment