Showing posts with label # Design Team # Nida Razali. Show all posts

Thursday, April 18, 2013

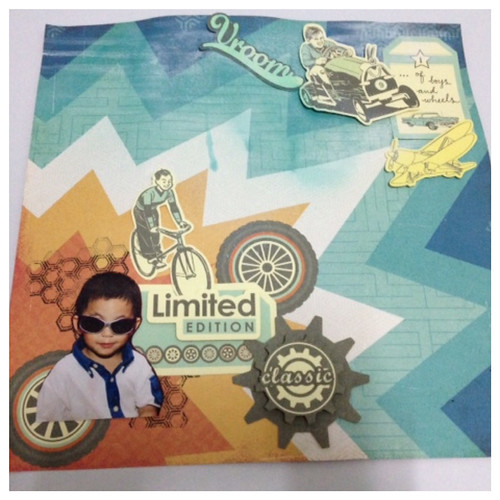
Vroom! - a 12 x 12 layout

Hi and Happy Thursday. Yes, I'm late in posting this week. Didn't realise that its already Thursday, ya' know. The more you say 'how fast time flies', the faster time goes by it seems. Yeah, blame it on the time! Lol!

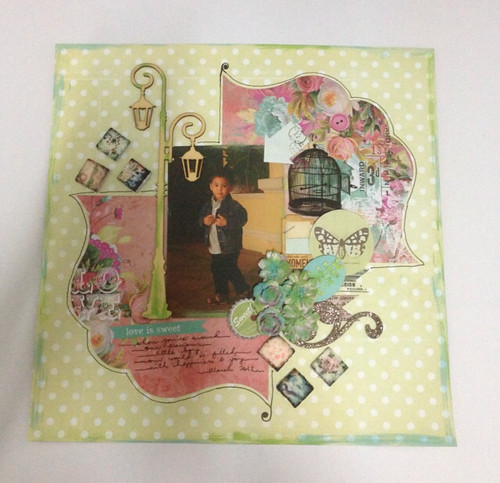
Sharing with you a 12x12 layout using items from the April DT kit, which mostly consists of Echo Park Paper brands. I have also used some ephemeras from Kaisercraft and stamps ( my own collection ) and Dylusions spray inks, where you can get the whole new 6 colours at the store now. These spray inks are wonderful, I tell ya' and I just can't resist using them in my projects.

A rather Clean and Simple design.

Until next time, see ya' soon and thanks for stopping by!

Hugs!


Thursday, April 4, 2013

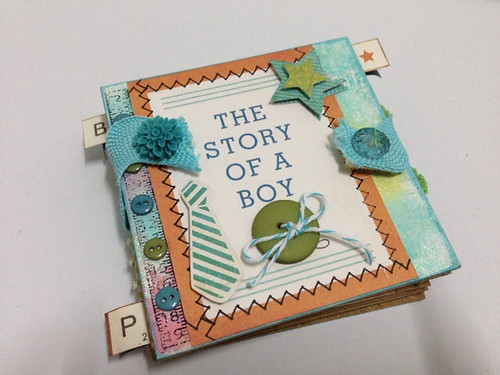
4 x 4 accordion mini journal for Boy

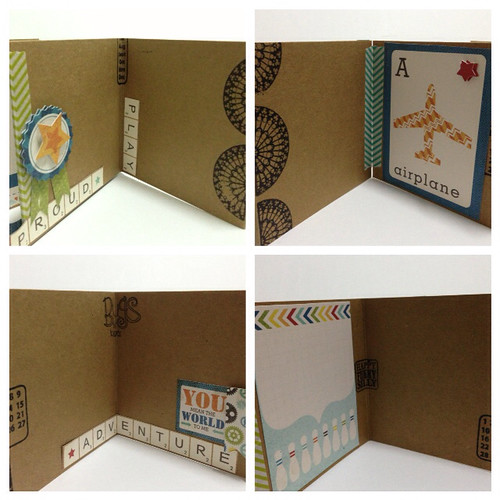
Hello peeps! Happy Thursday! Sharing with you a 4 x 4 mini journal / album suitable for boys. Most of the items are from my April DT kit and it comes with lovely Echo Park papers and similar theme layered stickers. For the front and back cover, I have used zutter 4x4 chipboard piece, which also in the DT kit for this month. It's so cute and cheap too!

Other things that I have used in here and not from the kit are the Kraft papers to create the accordion base, buttons, stamps, twine, washi tapes, ribbon lace, blings and Velcro strap.

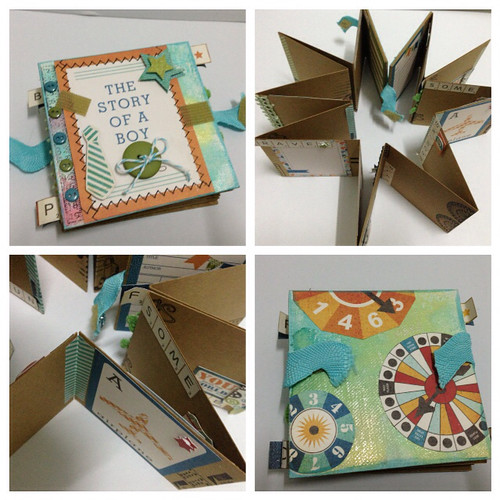
I secured the accordion Kraft papers together with washi tapes from Bella Blvd. They are new items at the store! Check it out! The front and back cover wee painted with Glimmer Mist new range of colours from Tattered Angels; also new in the store! They are selling fast!

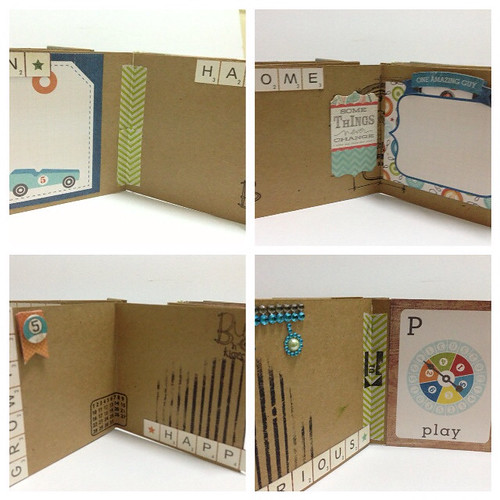
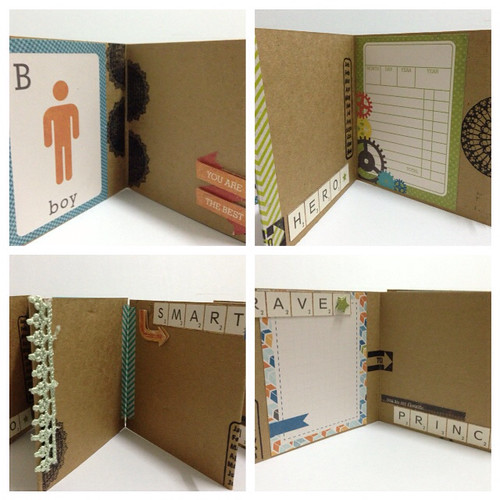
Few more collage photos to show you how I worked out each of the pieces.
You see, I have also used Webster's Pages blings below. All these layered stickers, blings, ribbon laces creates dimension to my accordion mini journal. Great!
A ribbon lace on a boy's page is OK for me.

OK folks! That's all for today. Thanks for stopping by!

Most of the items are available at the store!

See you next time!


Thursday, March 28, 2013

You Make Life Beautiful - a 12x12 layout

Hi there and happy Thursday! Yeap, it's Thursday and weekend is just around the corner. Oh no! And the school holidays is almost over ? How fast time flies..
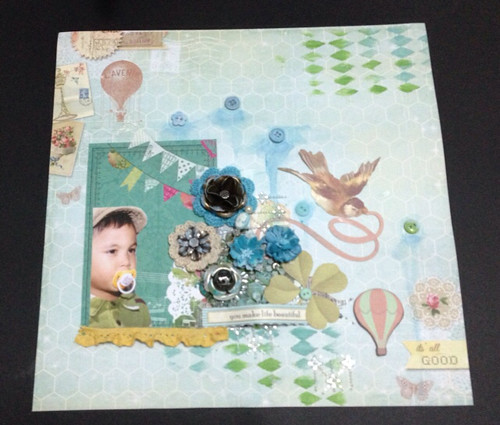
Today, I want to share a simple 12 x 12 layout. Here, I have used stencils, paints by Rangers, metal embellishments and flowers by Prima, crocheted motifs ( my Mom made these ), buttons, some chipboard stickers and vintage ephemeras. I have applied distress paints on the metal embellishments as well as on the flowers.
I have also used watercolour pencils (Faber Castell) and Martha Stewart paints in blue and dilute with water to create the effect below. Both ways are easy enough and gives rather a similar result.

OK folks! Gotta go now. I'll be staying for another term with Papier.

Until then, take care and keep on crafting!

See ya'.

Thursday, March 14, 2013

Love Me -a 12x12 layout


Hi there! Happy Thursday. Glad that weekend is just around the corner. Yeayy!

Sharing with you today a 12 x 12 layout using the latest papers in store. Aren't they gorgeous?

I have also used here Tim Holtz's distress paints and they are going to be stocked in the store very soon! We have an array of new stuffs already at the store and some more coming in soon.

Oh and by the way, I have also used here Prima tiles and washi tapes. The flowers have been applied with distress paints too. Lol!

Keep checking the blog for the new arrivals!

Until then, see you next time!


Thursday, February 21, 2013

Tutorial on Martha Stewart painting tools

Hi there! Today, I'm going to do a simple tutorial on the Martha Stewart's various painting tools to create an art journal page. If you're not into art journal, that's completely ok. You can apply these methods to create your own scrapbook background designs too. Without further ado, let us begin.

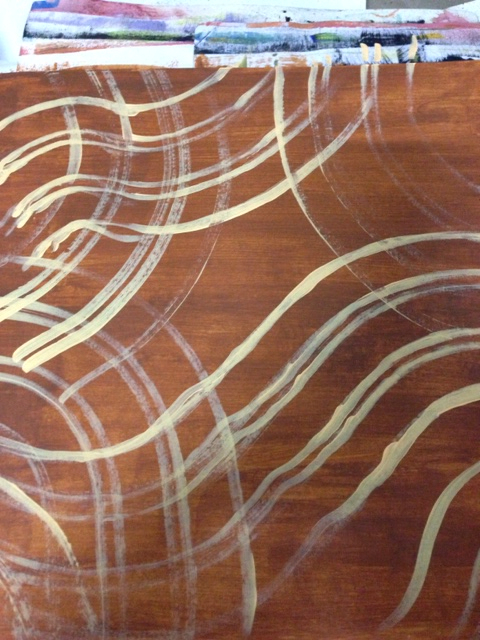
This (below) is my art journal page, which was initially a blank white water colour paper (300gms). I have given it a brown coat of MS paint. The paint was diluted with water before I applied on the page. MS paints are really quite thick. If you prefer without much dilution, thats fine cos its entirely up to you.

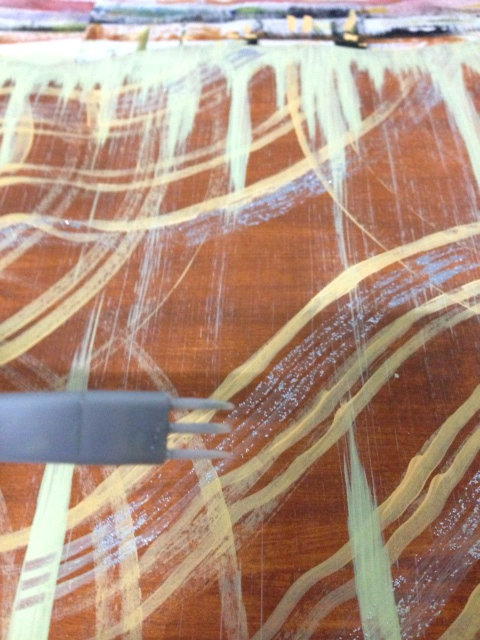
Then, using the adjustable stripping brush, I have created the yellow wavy lines. ( in a picture later too). What's great about this adjustable stripping brush is that..well...it's adjustable! You can design your own wavy lines by rearranging the brushes between each other. Cool eh? Ok, let us move on.

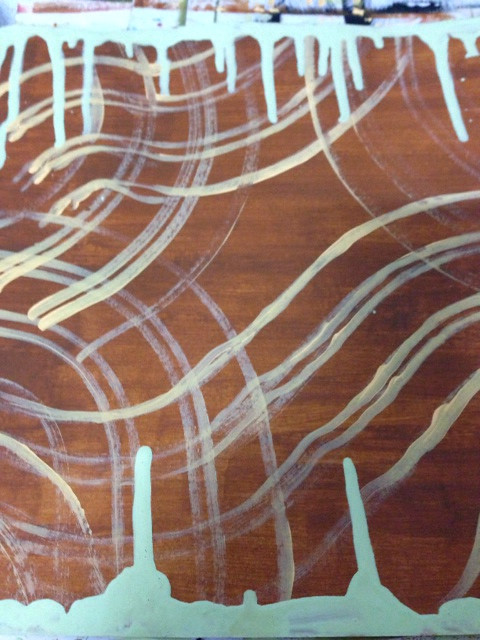
Now, I have used a green paint, dilute a little and bring it onto the edge of the top and bottom page. One edge at a time. Don't ask me why I have used green and brown..lol! I guess I have extra bottles of greens that I need to rid off quick! Hehe..

Ok, then let the paint drip down by tilting your page. Make sure you have enough water to let the paint drips. Like I said before , MS paints are quite thick. Too much water, will make the paint be too runny. My trick is, lift up the paint with brush and wait until it drips. If it drips the moment you lift up the brush, then it's too much of water. If it drips, say, about 5 secs later; then you're good to go. You can see below the result of this.

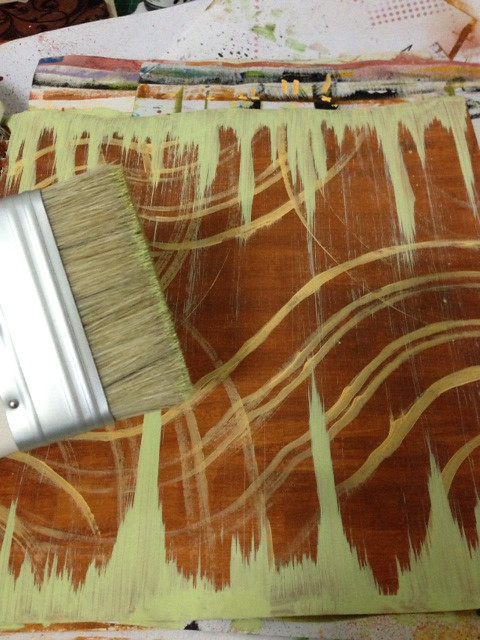
Now, before the green paint dries, we will use the dragging brush to swipe the paints over. You can see the streaks of green paints over the whole page as you drag it with this brush. So cool! Let it dry a little while. You can use heat gun to dry too.

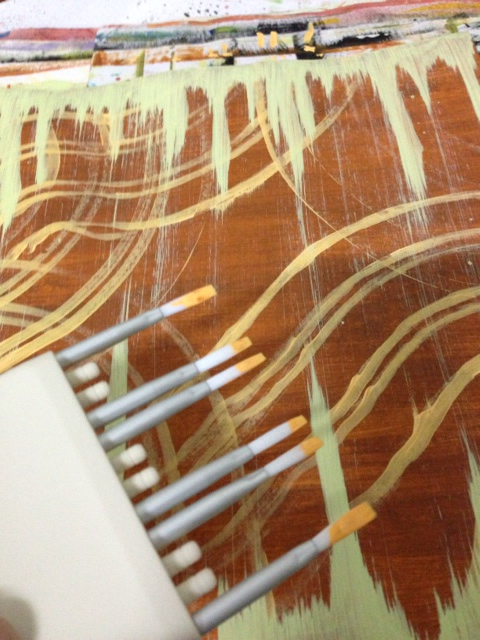
Ok, remember the first effect earlier? Below, is the adjustable stripping brush that I have used. It comes with 12 small brushes, which can be taken out to suit your designs. Tip: make sure your pallette is the flat kind or have a flat surface so that you can sweep off equal paints on all the brushes. You will know what I mean when you try it. Lol!

For the effects below, I have used the patterning brush set, which comes with 4 different designs. If you can see, I have used the glitter paint with this brush and applied it onto my art journal page.

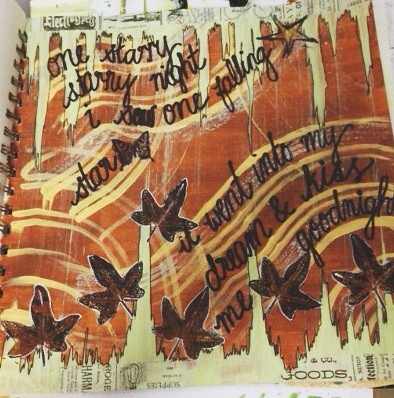
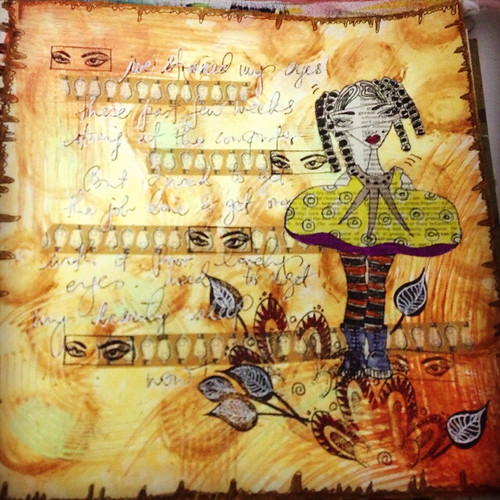
Well, and lastly, here's how the final art journal turned out to be. I've added stamping, doodling and journalling to finalize my art journal page. As usual, i always have a reason why I create an art journal page and this time, it is about the latest meteor that hits Russia. That streaks of green paints somehow reminds me of the light streaks that the meteor made as it glides onto the atmosphere. Perfect!

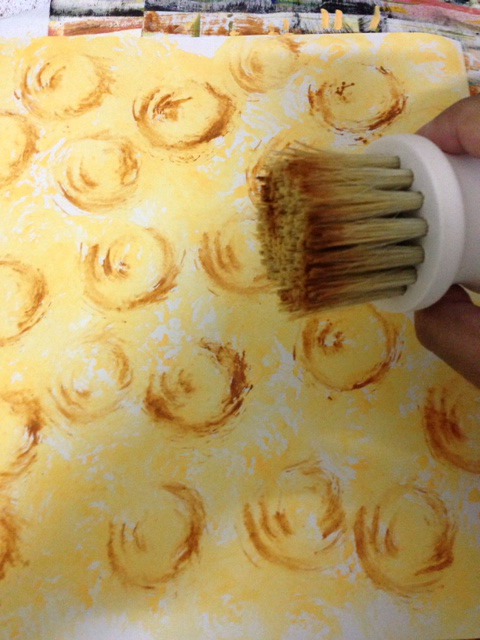
Oh ..and... a bonus post down here..hehe...can't help it to share with you another tool that I find very very cool! The stippling brush and the grain stripping comb. See the effects below when you dab some paints onto the stippling brush and twist it as you apply on your page.

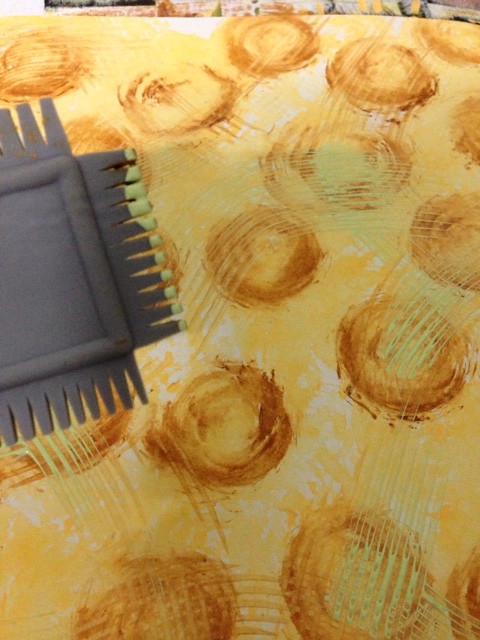
And just look at the effects given by the grain striping comb. Just swipe the paint with it and voila! You get awesomeness! Lol!

Bigger 'tooth' on this one below.

And here's how it finally turned out.

Ok folks. Yeap, I'm really signing off now. Hehe..

Don't be afraid to get messy ok! Have fun playing with your paints!

See you next time. Ciao!


Thursday, February 14, 2013

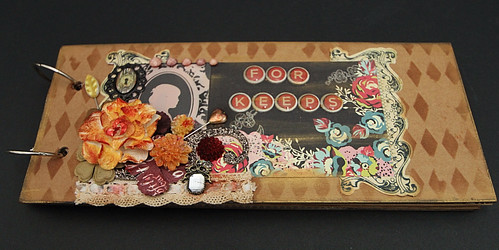
For Keeps - an envelope album

I was given this envelope mini album to play with and what came immediately into my mind was how great this would be to keep for my PL photos once I get them printed. It would be a nice temporary storage until I have the time to arrange them all in my PL's album.

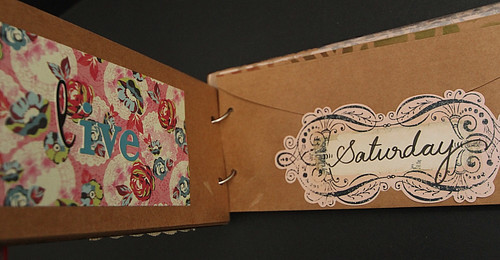
The album comes with 7+ 1 rectangular envelopes; perfect for the 7 days storage plus 1 more envelope where you can keep photos in random order of the days.

Papers, mini album, journalling tags and acrylic sheet are from the DT kit for this month and a bit of left overs from the previous months.

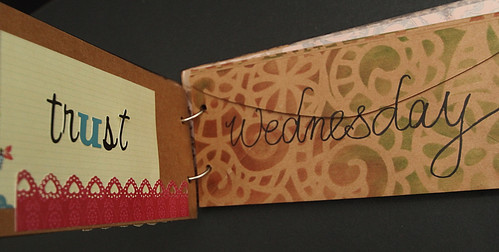
Below are peeks of how the inside looks.

If you like the papers and the journalling tags, you can get them at the store.

I have used distress inks by Ranger on a stencil for the envelope below. Add on my own handwriting. Lol! The alpha stickers are from Webster's Pages. Also available at the store! Punch? Well, it's by Martha Stewart and yes, you can find them all at the store too!

Thanks for stopping by! Have fun crafting!


Thursday, January 31, 2013

12 x 12 layout background using paints

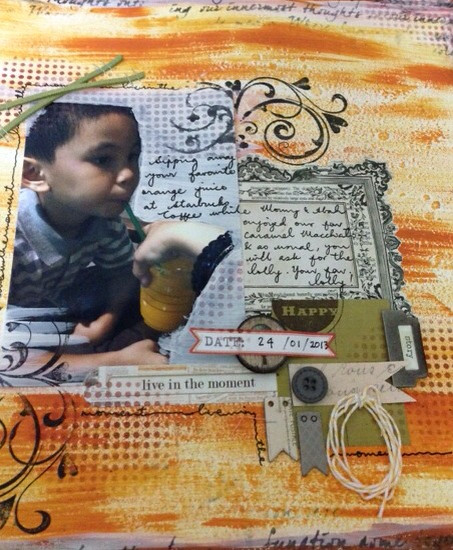
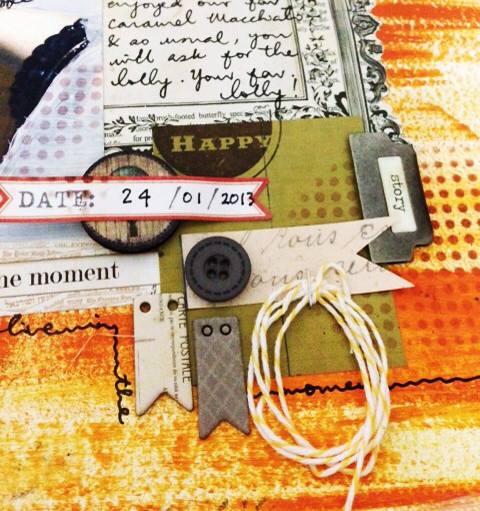
Hello there! Happy Thursday! I'm back again with a 12 x 12 layout entitled Live in the Moment. The theme for this is layout is paints. Yes, I have used lots of paints on this layout. I started off this page with a white blank sheet. I have used gesso and Martha Stewart paints ( available at the store ) and applied throughout.

The rest is add on your photo, embellies, stamping with an archival ink, distress on stencil and doodling here and there. I can't help not to doodle..lol!

Help yourself to the myriad of paints available at the store now. In fact, we'll be having a demo on paints next month and I'll show you how we can play with paints on stencil, stamps or anything else we can get our hands on ( or even our own hands?! ) ..lol!

see you next time!

Thursday, January 17, 2013

True Friend - a work on journal cover

Hi there! Happy Thursday! I think it's not too late to wish all of you Happy New Year 2013! Wow...we are finally in the year of 2013 despite all the doomsday predictions on 21/12/12! But did you notice how clear the weather was that night of 21/12/12? On my part of the sky, I could see hundreds, maybe thousands of glitterings stars! Amazing!! Well, anyway, am not going to talk about the stars and the moons here. Lol! You'll find me on another blog for that! Haha!

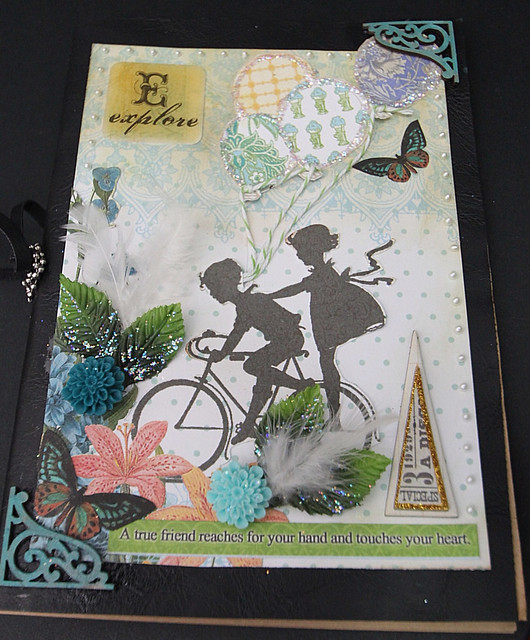
This is my work using the January DT kit from Papier. I have been working on a cover for a mini journal. The journal costs me only RM5 from Daiso and it's totally plain and simple and just the way I like it. The paper that I have used here is from Webster's Pages Best Friends. I have cut-out those balloons and made the strings using twines. The feathers are also part of the DT kit and I have used it here with the green leaves. The flower resin are also from Webster's Pages and it's available at the store plus with other colours too. Add a lil' bit of dimensional pearl paints and glitters, completes the cover for me to start the first chapter in my mini journal. ;)

A word sticker by Webster's Pages ( also from the kit) that says ' A true friend reaches for your hand and touches your heart'. How sweet is that...?

See you again next time! Thanks for stopping by!


Wednesday, December 19, 2012

A "Jurassic" layout


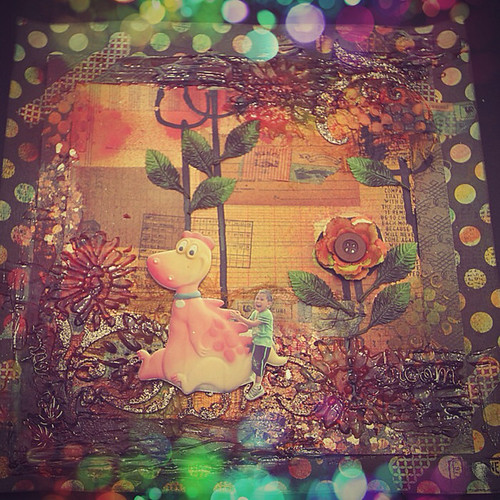
Hello there! It's my time to share my latest artwork using Papier's DT kit for this month and I have given it a title the " Jurassic" Layout.

I have used 3 patterned papers here of different designs and all are shades of brown / orange. The lowest layer was actually filled with white dots and I have applied my gelatos onto all the dots of several colours and lastly sprayed water and mix. Then, I stamped random designs using archival ink onto it.

I wanted to make the layout look "jurasically" aged (lol! Is there such word? Jurasically??) hence started to be too adventurous with my clear gel paste (Liquitex), coloured sprays (Dylusions, Colour wash by Ranger), distress inks, mica flakes and a whole lot of everything else.. Lol!

Let's just say, it's OK to experiment even if some things are totally new or something that you are used to. Add this with that and it's all a guess on how it would turn out later. I love experimenting for there's always an element of surprise and excitement. It just makes you want to create more. Lol!

See ya'


Thursday, December 6, 2012

Card for Best Buddies

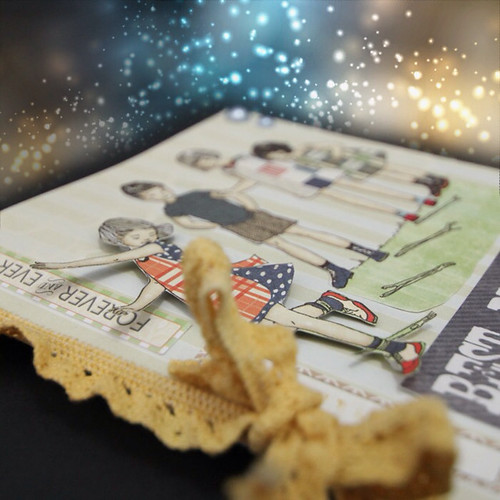
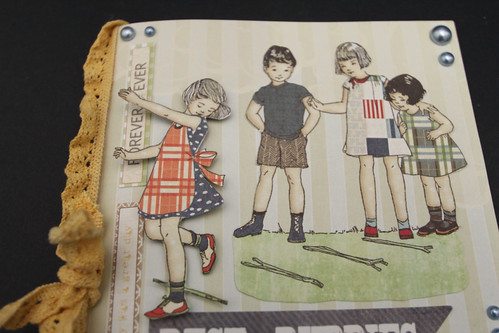
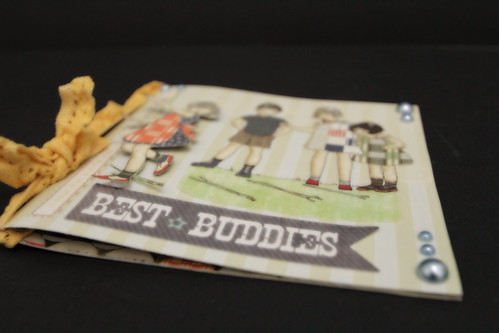
Hello! Sharing with you today a simple card using a paper from Webster's Pages. It's easy how you can turn a 12 x 12 layout into; if not 1 but 2 cards to give out to your friends, relatives etc.
Here I have been given WP paper with an element of playtime on it and I just have the right word sticker to go along with it. Reminds me of my childhood days. Lol!
The card is simple but it carries a great message on it. "Best Buddies- Forever and Ever".

Thanks for stopping by! If you like the materials I have used here, do visit the store soon! Happy crafting!


Tuesday, November 27, 2012

A 12x12 Layout

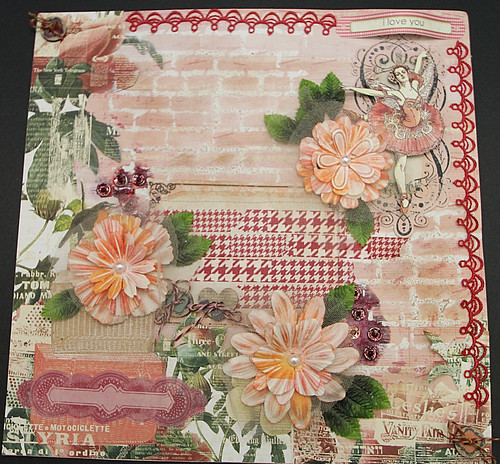
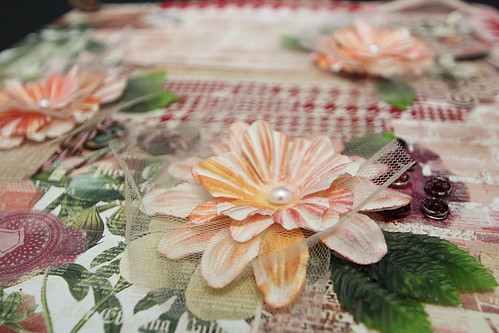
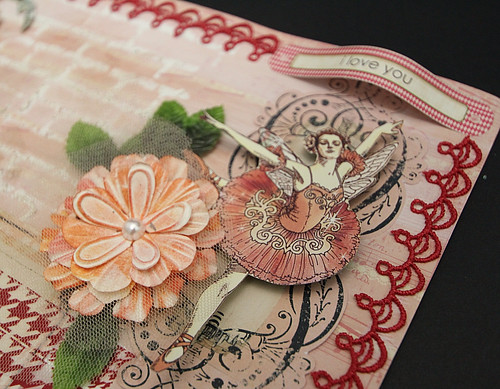
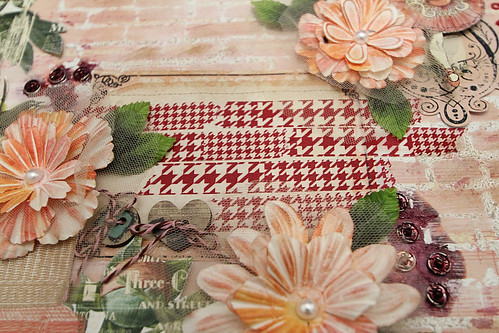
Hi All! Good day to you! Today, I'll be sharing a simple 12x12 layout using Webster's Pages & Graphic45 papers, washi tape, flowers from Prima, metal buttons, journalling cards, rub-ons and bits of everything else.
I have also used Martha Stewart's white texture effect onto a stencil, let it dry and then applied slight some distress inks onto it.
If you need a subtler effect for your embellishment; in my case is the flowers, try using some tulles. I think it works for me here. Lol!
It's a pretty simple layout using my DT kit for November; mostly all except for the metal buttons, flowers, leaves and tulle.

A photo or a caption can be added onto the space below; just on top of the washi tapes. A small or big photo is entirely up to you.

Until then, see ya next time! Ciao!

-Nida-

Tuesday, November 20, 2012

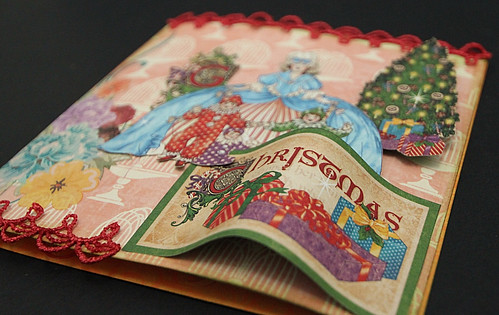
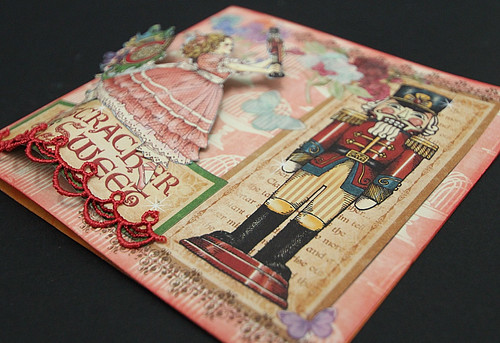
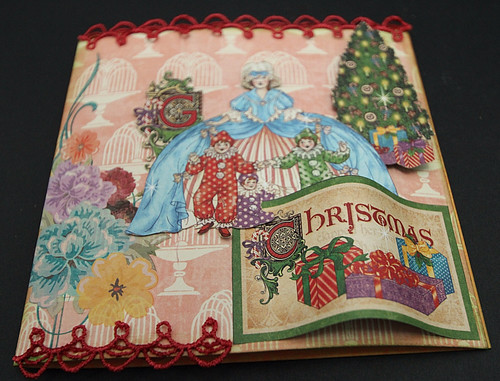
Nutty You and a Christmas Card

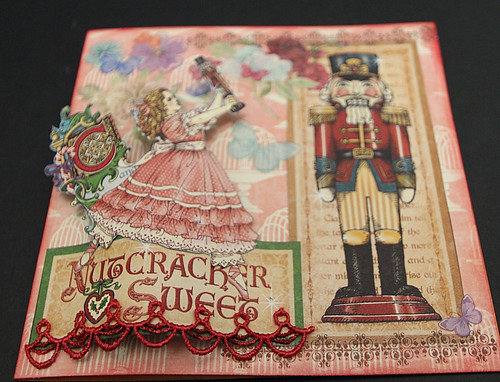
Hi there and Happy Tuesday! Today, I would like to share with you two cards that I made using the DT kit for this month of November. The papers are from Graphic45 and they are full of whimsical characters.

The first card I made carries a title Nutcracker Sweet; hence I named it 'Nutty You'...for somewhat obvious reason....hehe..


And the second card ...well I guess you can tell from the photo. I hope it's not too early to do a Christmas card. I mean, of course you can do Christmas or any other festival cards anytime you like. You just keep it aside and use it when the time comes. Lol!

Do come to the store for your craft supplies! See ya next time!

-Nida-